Why Create A DIY Planner
Have you ever gone shopping for a planner, only to leave feeling disappointed? It’s always the same story: one planner has a few features you love, but it’s missing everything else you actually need. You find yourself wishing you could just mash two or three different planners together!
To make matters worse, the ones that do seem to have it all are usually the most expensive. And let’s be honest what happens if you spend a fortune on a planner, but a few weeks later, you’re just not ‘feeling it’ anymore? It ends up sitting on a shelf, forgotten, along with the money you spent on it.
That’s why I finally decided to take matters into my own hands. I realized the best option for me, and maybe for you too, was to create my own diy planner.
I wanted something built exactly with what I like in the moment, but with the total freedom to change it whenever I want. No more being stuck with a layout that isn’t working! Now, I can simply remove or insert sheets as I go. If my focus shifts or my goals change, my planner changes right along with me. It’s the ultimate flexible method that grows with you, rather than holding you back.
Creating a planner that actually works for you is easier than you think! Here is a quick breakdown of what I used and what you’ll need to get started.

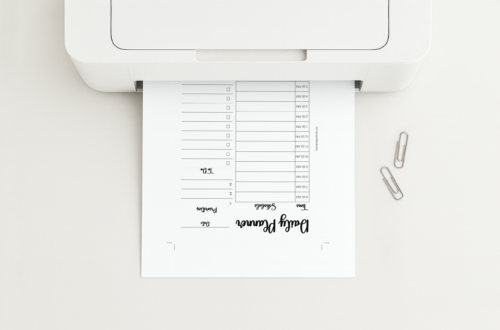
Choosing A Printer
The best part is that you don’t need a fancy or expensive printer to your DIY planner! A regular inkjet or laserjet will do the job perfectly.
If you want your planners with a pop of color, an inkjet printer is usually the most affordable way to get those vibrant images and trackers. On the other hand, if you prefer a clean look and want to save money in the long run, a laserjet is a fantastic choice for printing crisp black-and-white pages. Either way, you can create something beautiful with what you already have at home.
Picking The Right Paper
The right choice of paper makes a huge difference in how diy planner will actually feel when used. You definitely don’t want your pens or markers bleeding through to the other side!
- Regular Copy Paper (20 lb): This is your most budget-friendly option. It works great for everyday pages and quick lists.
- Premium Paper (24–32 lb): If you want a more professional feel, I highly recommend stepping up to a slightly heavier weight. It’s thicker, smoother, and does a much better job of preventing ink bleed-through.
- Cardstock: This is my go-to for the ‘heavy lifting.’ It’s perfect for creating durable covers, dashboards, and dividers that can handle being flipped through every day.
Binder Choices For DIY Planner
Your binder or planner cover is where all your hard work will live, so you want to choose one that fits your lifestyle. There are a few great options depending on the size and style you prefer:
- A5 6-Ring Binders: These are stylish, compact, and perfect if you want something portable.
- Half-Letter Binders: A great middle-ground size that gives you plenty of room to write without being too bulky.
- Discbound Systems: These are incredibly popular because they allow you to pop pages in and out without opening a single ring.
- Standard 3-Ring Binders: The most accessible and budget-friendly choice, you might even have one right now.
Take a look at each and choose the one that feels right for your daily routine. This is the base that brings your whole diy planner together.
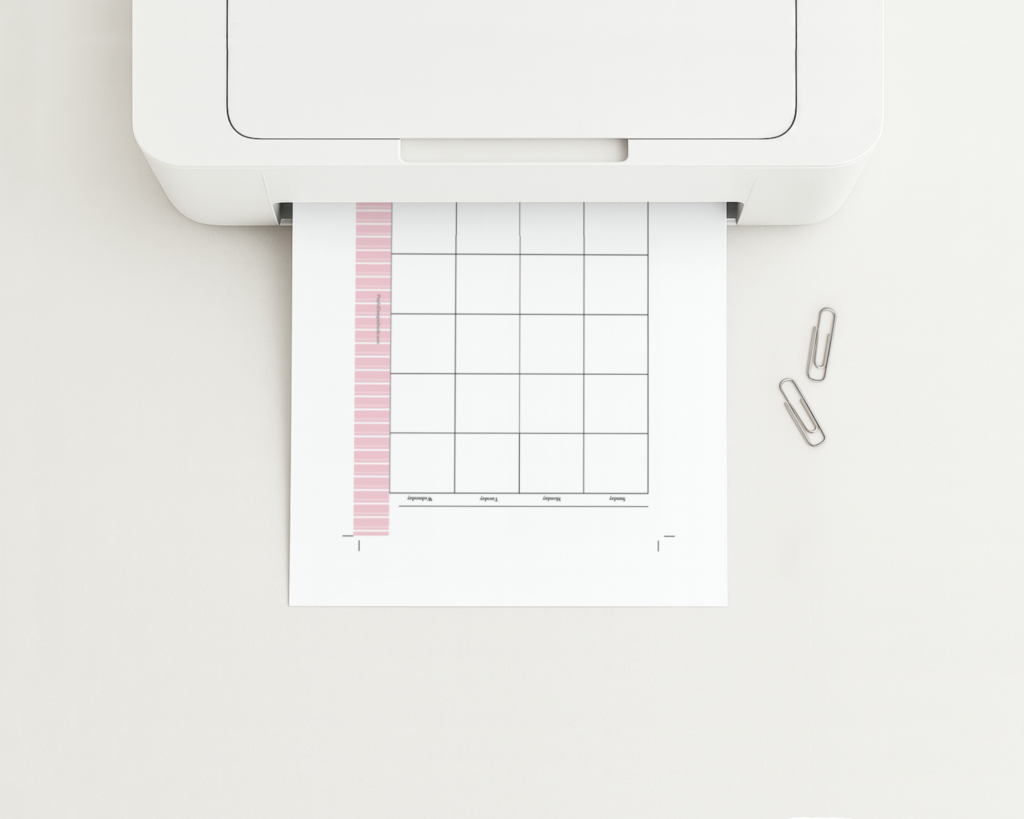
Trimming Pages To Size
Once you’ve printed your pages, it’s time to get them ready for your binder. If you are using an A5, half-letter, or any other custom size, you’ll need a way to trim your paper down.
Most printables come with crop marks, those handy little lines in the corners, to guide you exactly where to cut. Here are the best tools for the job:
- A Paper Cutter: This is a total game-changer if you want perfectly straight lines every time. It saves so much time, especially if you’re prepping a whole month’s worth of planners at once.
- Scissors: If you’re starting out, don’t overthink it. Everyone has a pair of scissors laying around somewhere, and they work just fine to get you started on your DIY Planner.
Whether you go for precision or simplicity, the goal is the same: getting those pages perfectly sized for your new custom planner.
Punching Your Holes
Now that your pages are trimmed to size, the final step is to get them ready to click into place. Depending on the binder you chose, you’ll need a hole punch that matches your layout.
Before you buy one, take a quick look at your setup:
- Standard 3-Ring Punch: Perfect for those larger, classic binders.
- Adjustable 6-Ring Punch: A must-have for A5 or Personal-sized planners.
- Discbound Punch: These are specialized punches designed specifically to create those unique mushroom-shaped cutouts.
Choosing the right punch ensures your pages turn smoothly and stay secure. Once your holes are punched, you’re officially ready to start organizing.
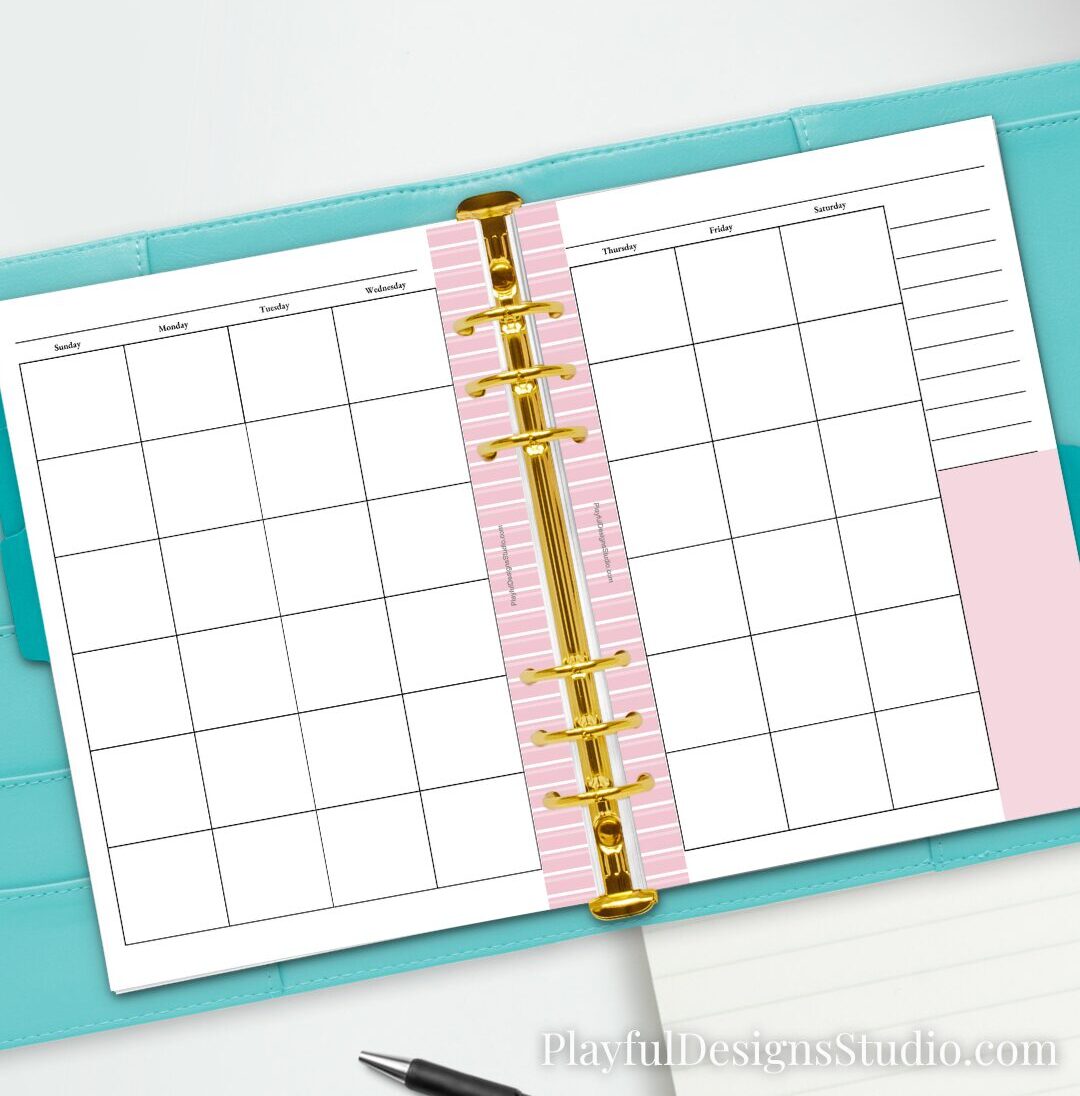
Your Layouts and Calendars
Since you have all the tools ready, the possibilities are truly endless. You can mix and match different layouts to fit your life and Diy planner perfectly:
- Monthly & Weekly Calendars: Great for seeing the big picture and tracking your daily appointments.
- Daily To-Do Lists: Perfect for those of us who need a clear plan to stay on task each morning.
- Dots or Graphs: If you love the creative freedom of a bullet journal, these are a must-have.
- Specialty Trackers: Don’t forget to add in savings trackers or habit logs to keep your goals front and center.
The beauty of a DIY planner is that if you find you aren’t using the weekly spreads, you can simply swap them out for something else. You are in total control of your organization.
Tabs and Dividers
To keep everything organized and easy to find, don’t forget to add dividers and tabs. These are essential for navigating your planner quickly so you can stay focused on the task at hand.
You can create sections for your months, weeks, goals, or even a dedicated spot for those savings trackers. You have two great options here:
- Pre-made Dividers: You can buy these at any office supply store if you want a quick, ready-to-go solution.
- DIY Printed Tabs: For a custom look, you can print your own designs. I recommend laminating these for extra durability so they can withstand daily use without wearing down.
Having these clear markers makes it so much easier to flip right to the page you need without any distractions.
Extras For Your DIY Planner
While you have all the basics covered, there are a few ‘extras’ that can take your DIY planner from functional to fabulous. These are the tools that will give it a polished feel:
- Laminator: If you want your dividers and tabs to last all year, a laminator is your best friend. It adds that extra layer of durability and keeps your most-used pages looking brand new.
- Corner Rounder: This is a small tool that makes a big difference. It smooths out those sharp, square edges on your pages and covers, giving your planner a sleek, professional look.
- Stickers: Who says organization can’t be fun? Stickers are perfect for adding personality, but they are also great for color-coding your schedule and highlighting important goals to help you stay focused.
Get started Today
Creating a diy planner is more than just paper and ink; it’s about creating a layout that actually works for your life. No more wasting money on expensive planners that don’t fit; now, you have the freedom to create exactly what you need.
Ready to start your DIY Planner? Check out my FREE Printables to download your first set of pages for free.
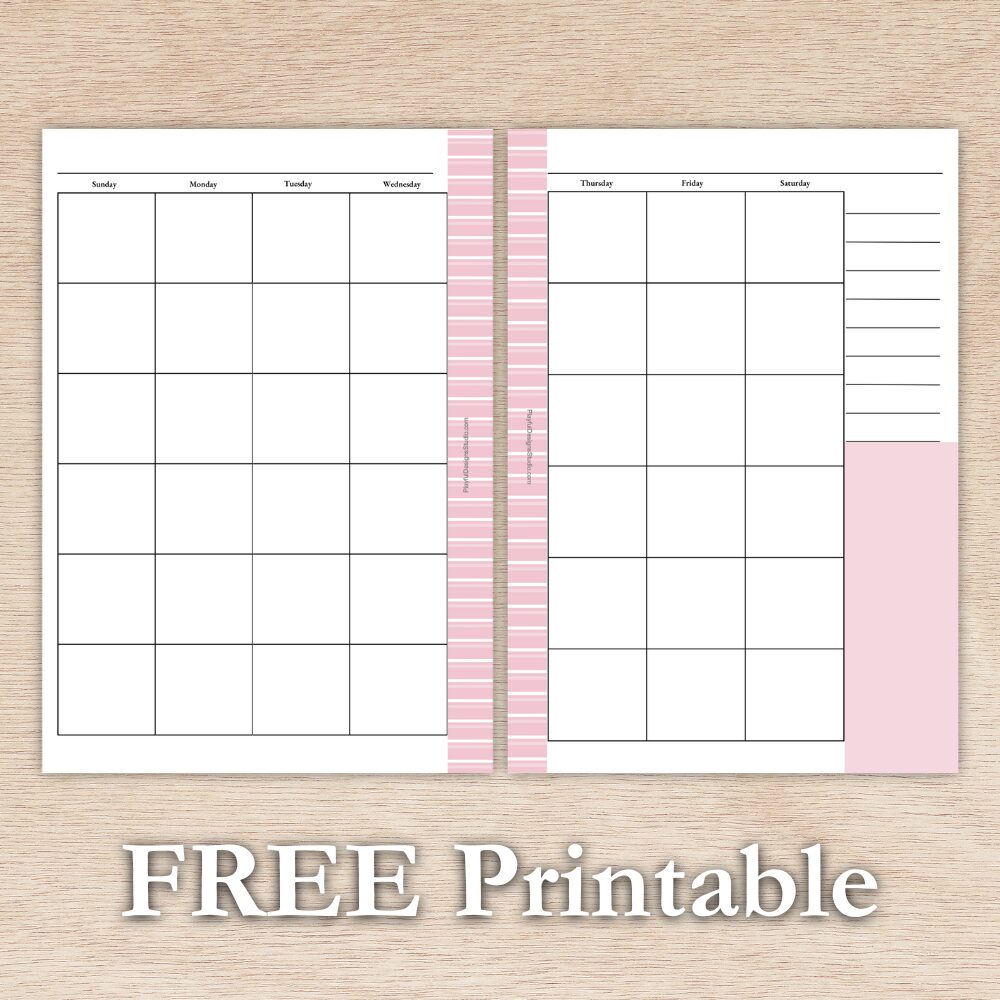
Download this A5-size Monthly Planner with crop marks for free. This printable fits perfectly in an A5-size binder once printed and trimmed.