Saving money is tough these days, especially with the rising cost of everyday necessities. It is far too easy to swipe a card and watch our bank accounts drain before we even realize where the money went.
That is why physical cash is so powerful—parting with it feels real, making us think twice before spending on things we don’t need.
You’ve probably seen those viral videos of people sorting cash into colorful envelopes or budget binders and wondered, “Does this really work?”
The answer is a resounding YES.
It’s called the cash stuffing method, and it is a fun, effective way to watch your savings grow. Best of all, you don’t need an expensive binder to start!
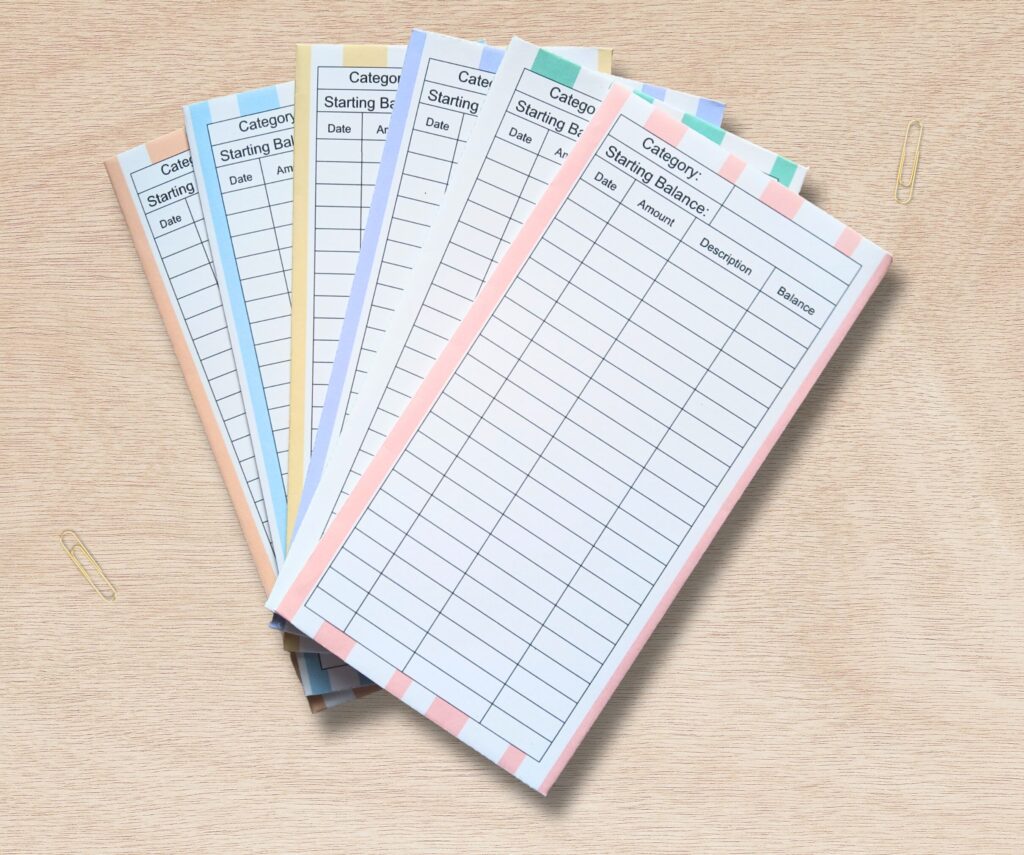
To help you out, I have a free printable ready to download at the bottom of this post.
What is Cash Stuffing?
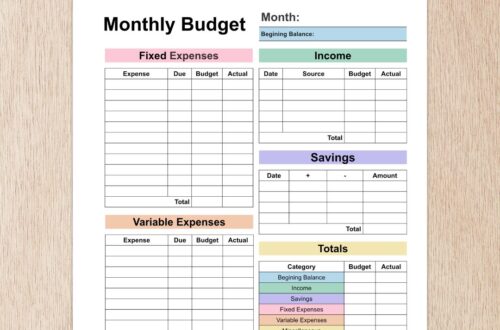
Cash Stuffing (also known as the envelope system) is a simple budgeting method where you divide your cash into separate envelopes for specific goals or categories, such as rent, insurance, gas, entertainment, and clothing.
At the beginning of each month, you determine the budget for every category and fill the corresponding envelope with that exact amount. The rule is simple: you spend only what is in the envelope.
This system helps you avoid overspending, keeps track of exactly where your money goes, and teaches you where you can cut back in the future.
How to Get Started Cash Stuffing
- Figure Out Your Budget: Write down all your bills for the month. Next, estimate what you will spend on variable expenses like groceries, dining out, and gas. These will become the specific categories for your envelopes.
- Label Your Envelopes: Once you have your budget categories figured out, label a separate envelope for each spending category (e.g., “Groceries,” “Gas,” “Entertainment”).
- Start Stuffing: Withdraw the total amount of cash you budgeted for these categories at the start of the month. Then stuff each envelope with its assigned amount.
- Spend Only From Envelopes: Leave the cards at home. Throughout the month, pay for expenses using only the cash from the corresponding envelope. Use the “Gas” envelope at the pump and the “Groceries” envelope at the store. This helps you visually track where your money is going and exactly how much you have left.
- Track & Adjust: At the end of the month, review how much cash is left in each envelope. If you ran out of money in a specific category early, you now know where you need to cut back or adjust your budget next month. Important: Do not borrow from other envelopes or your bank account!
- Repeat and Save: Restart this cycle every month. Take any leftover cash and put it straight into savings or start an emergency fund.
Tip: Use my Free Emergency Fund Printable and start saving.
Why Cash Stuffing Works
In a digital world, it’s easy to lose track of our spending. Swiping a card at checkout doesn’t truly ‘hit’ you until much later, when you check your bank account and see the balance.
The Cash Stuffing method works because it provides a visual. You see the money physically leaving your envelopes as you spend throughout the month, which helps you decide where to make changes for the future. By sticking to this budgeting method, you won’t only avoid unnecessary spending but also start developing the habit of saving.
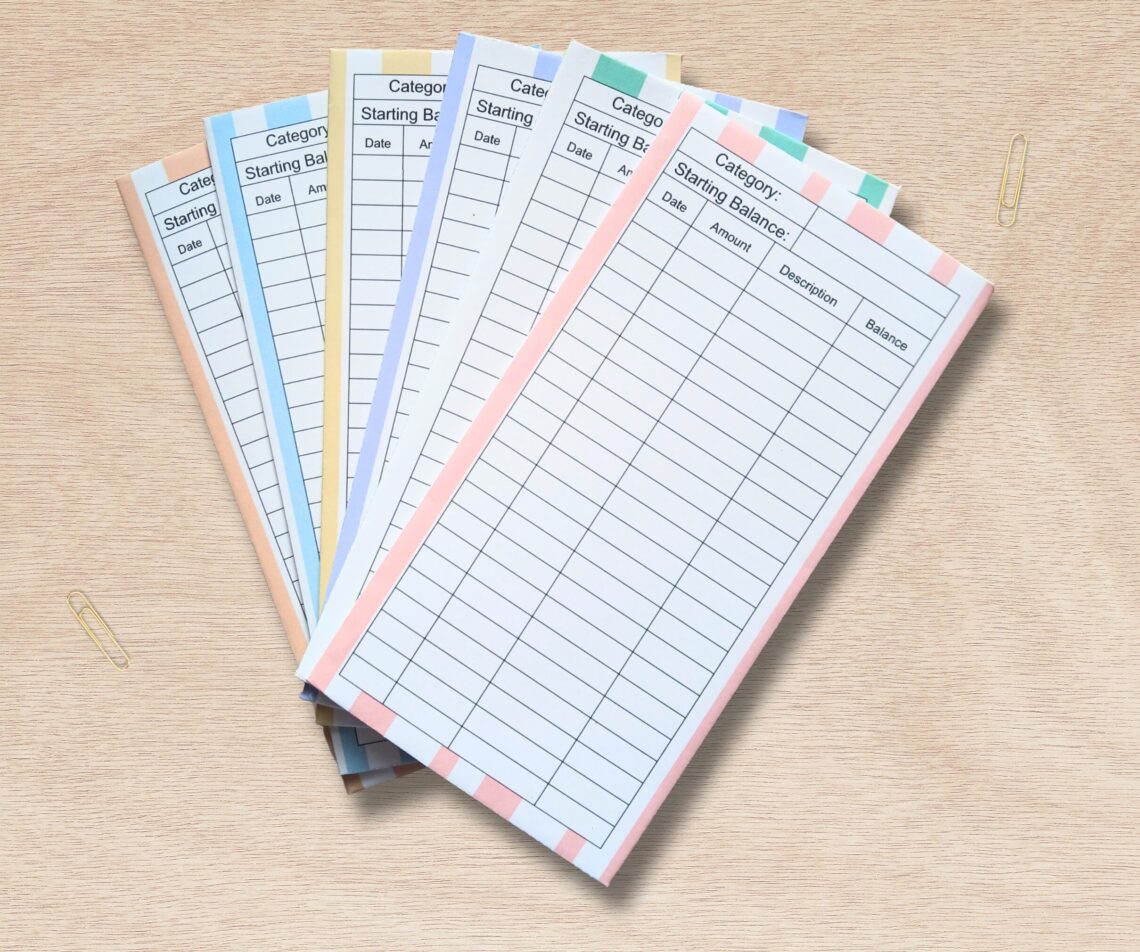
Download Cash Envelope Template for Free
As I mentioned earlier, I have a free envelope printable available for you to download and try. Click the download button below to print yours and start your cash stuffing journey today!
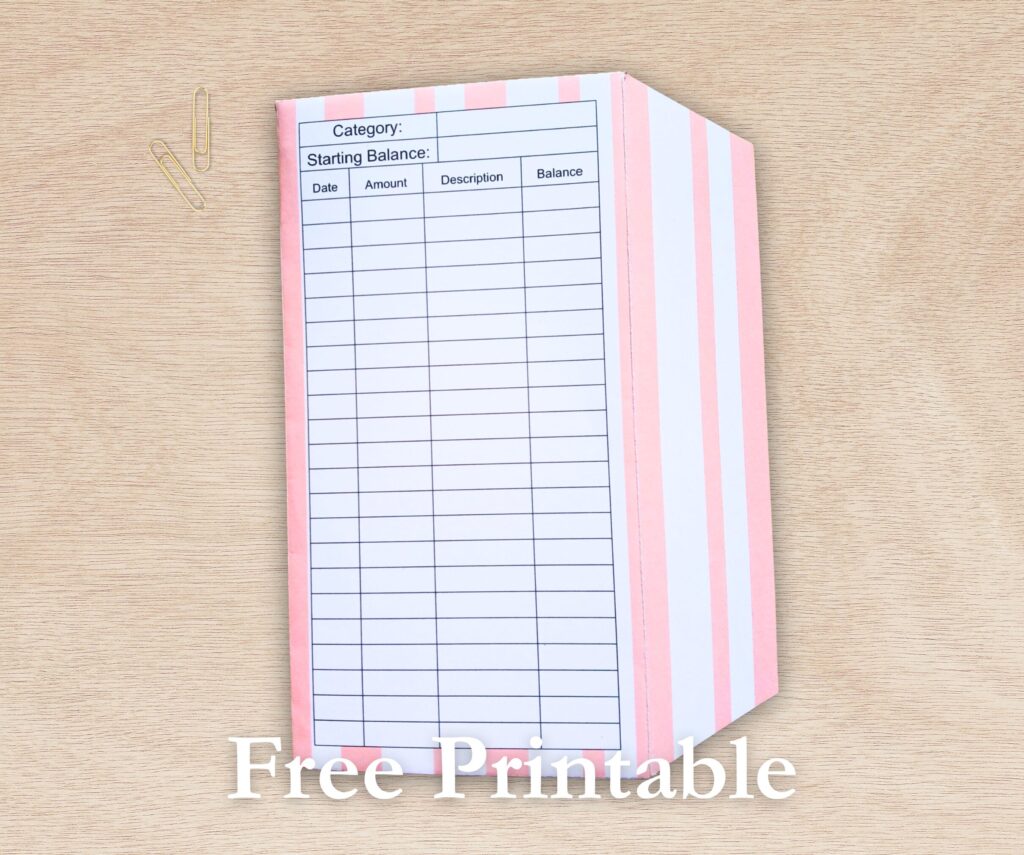
Printing and Assembling Your Envelope
Follow these simple instructions to turn your digital download into an envelope you can use.
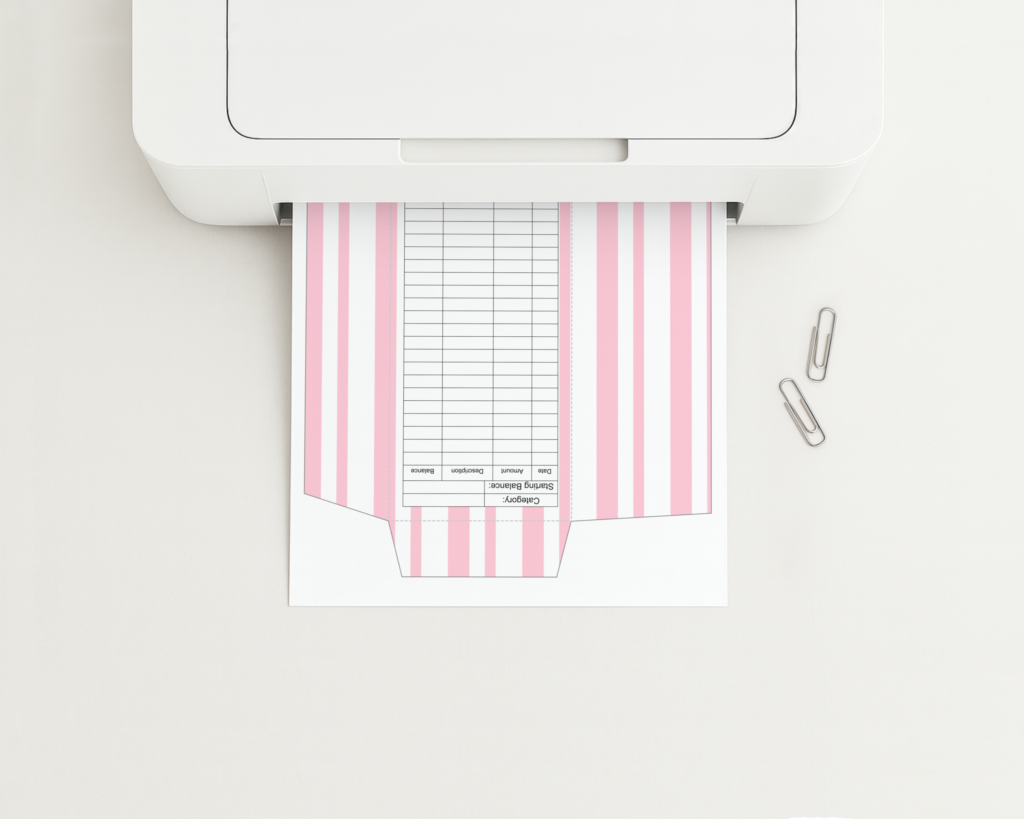
- Print Your Design: Open your PDF and check your printer settings. Select “Actual Size” (or 100% scale) to ensure the dimensions are correct, and set your orientation to Landscape. While regular printer paper works, I recommend using cardstock for a more durable, long-lasting envelope.
- Cut Out the Template: Use scissors or a paper trimmer to carefully cut along the solid outer line of the envelope template.
- Fold the Flaps: Fold the flaps along the dashed lines. Start by folding the two side flaps inward, then fold the bottom flap up to meet them. Finally, fold the top flap down—this will be your envelope’s opening.
- Glue Your Envelope: Apply a thin line of glue or double-sided tape to the edges of the side flaps, then press the bottom flap firmly onto them. Be careful not to get glue inside the envelope so your cash won’t get stuck.
Thanks so much for stopping by! I hope this printable helps you start saving. Don’t be a stranger—I’ll be posting new freebies, so keep an eye out for the next one.
Love your new envelope? This freebie is just a preview of the full collection. I have a Six-Color Cash Stuffing Envelope Bundle available to buy and instantly download in my shop.