Printables are a game-changer for staying organized, saving money, and adding creativity to your daily routine. From printing your own budget planners and grocery lists to habit trackers and savings challenges, the process is surprisingly simple.
This guide walks you step-by-step through the process so you can print your pages with confidence. Once you’ve mastered the basics, the possibilities are endless.
Looking for new designs? Check out my latest Free Printables here: FREEBIES
Downloading and Opening Your File
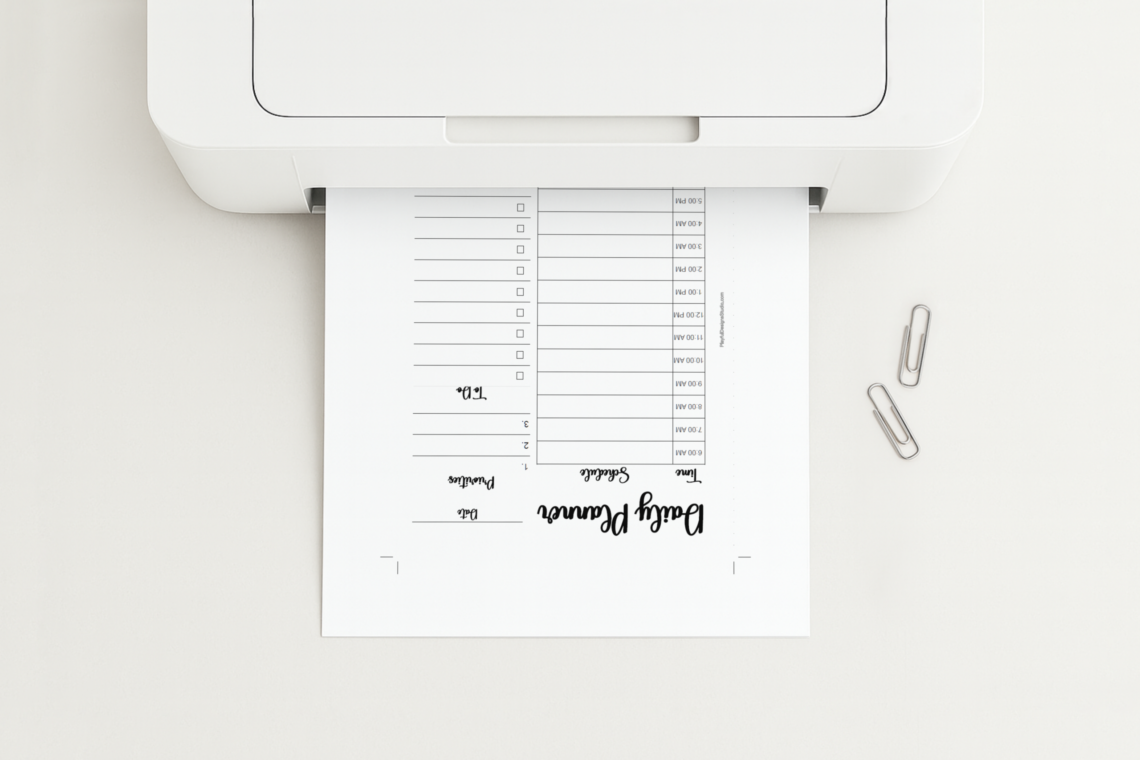
Once you’ve found a printable you love, the first step is to download it to your device. Most designs are saved as PDF files to ensure they remain crisp, clean, and perfectly aligned, regardless of the device you use. After downloading, I recommend opening your file in Adobe Acrobat. It’s the gold standard for printing, and if you don’t have it yet, it’s free to install and makes the whole process a breeze!
Printing and Paper
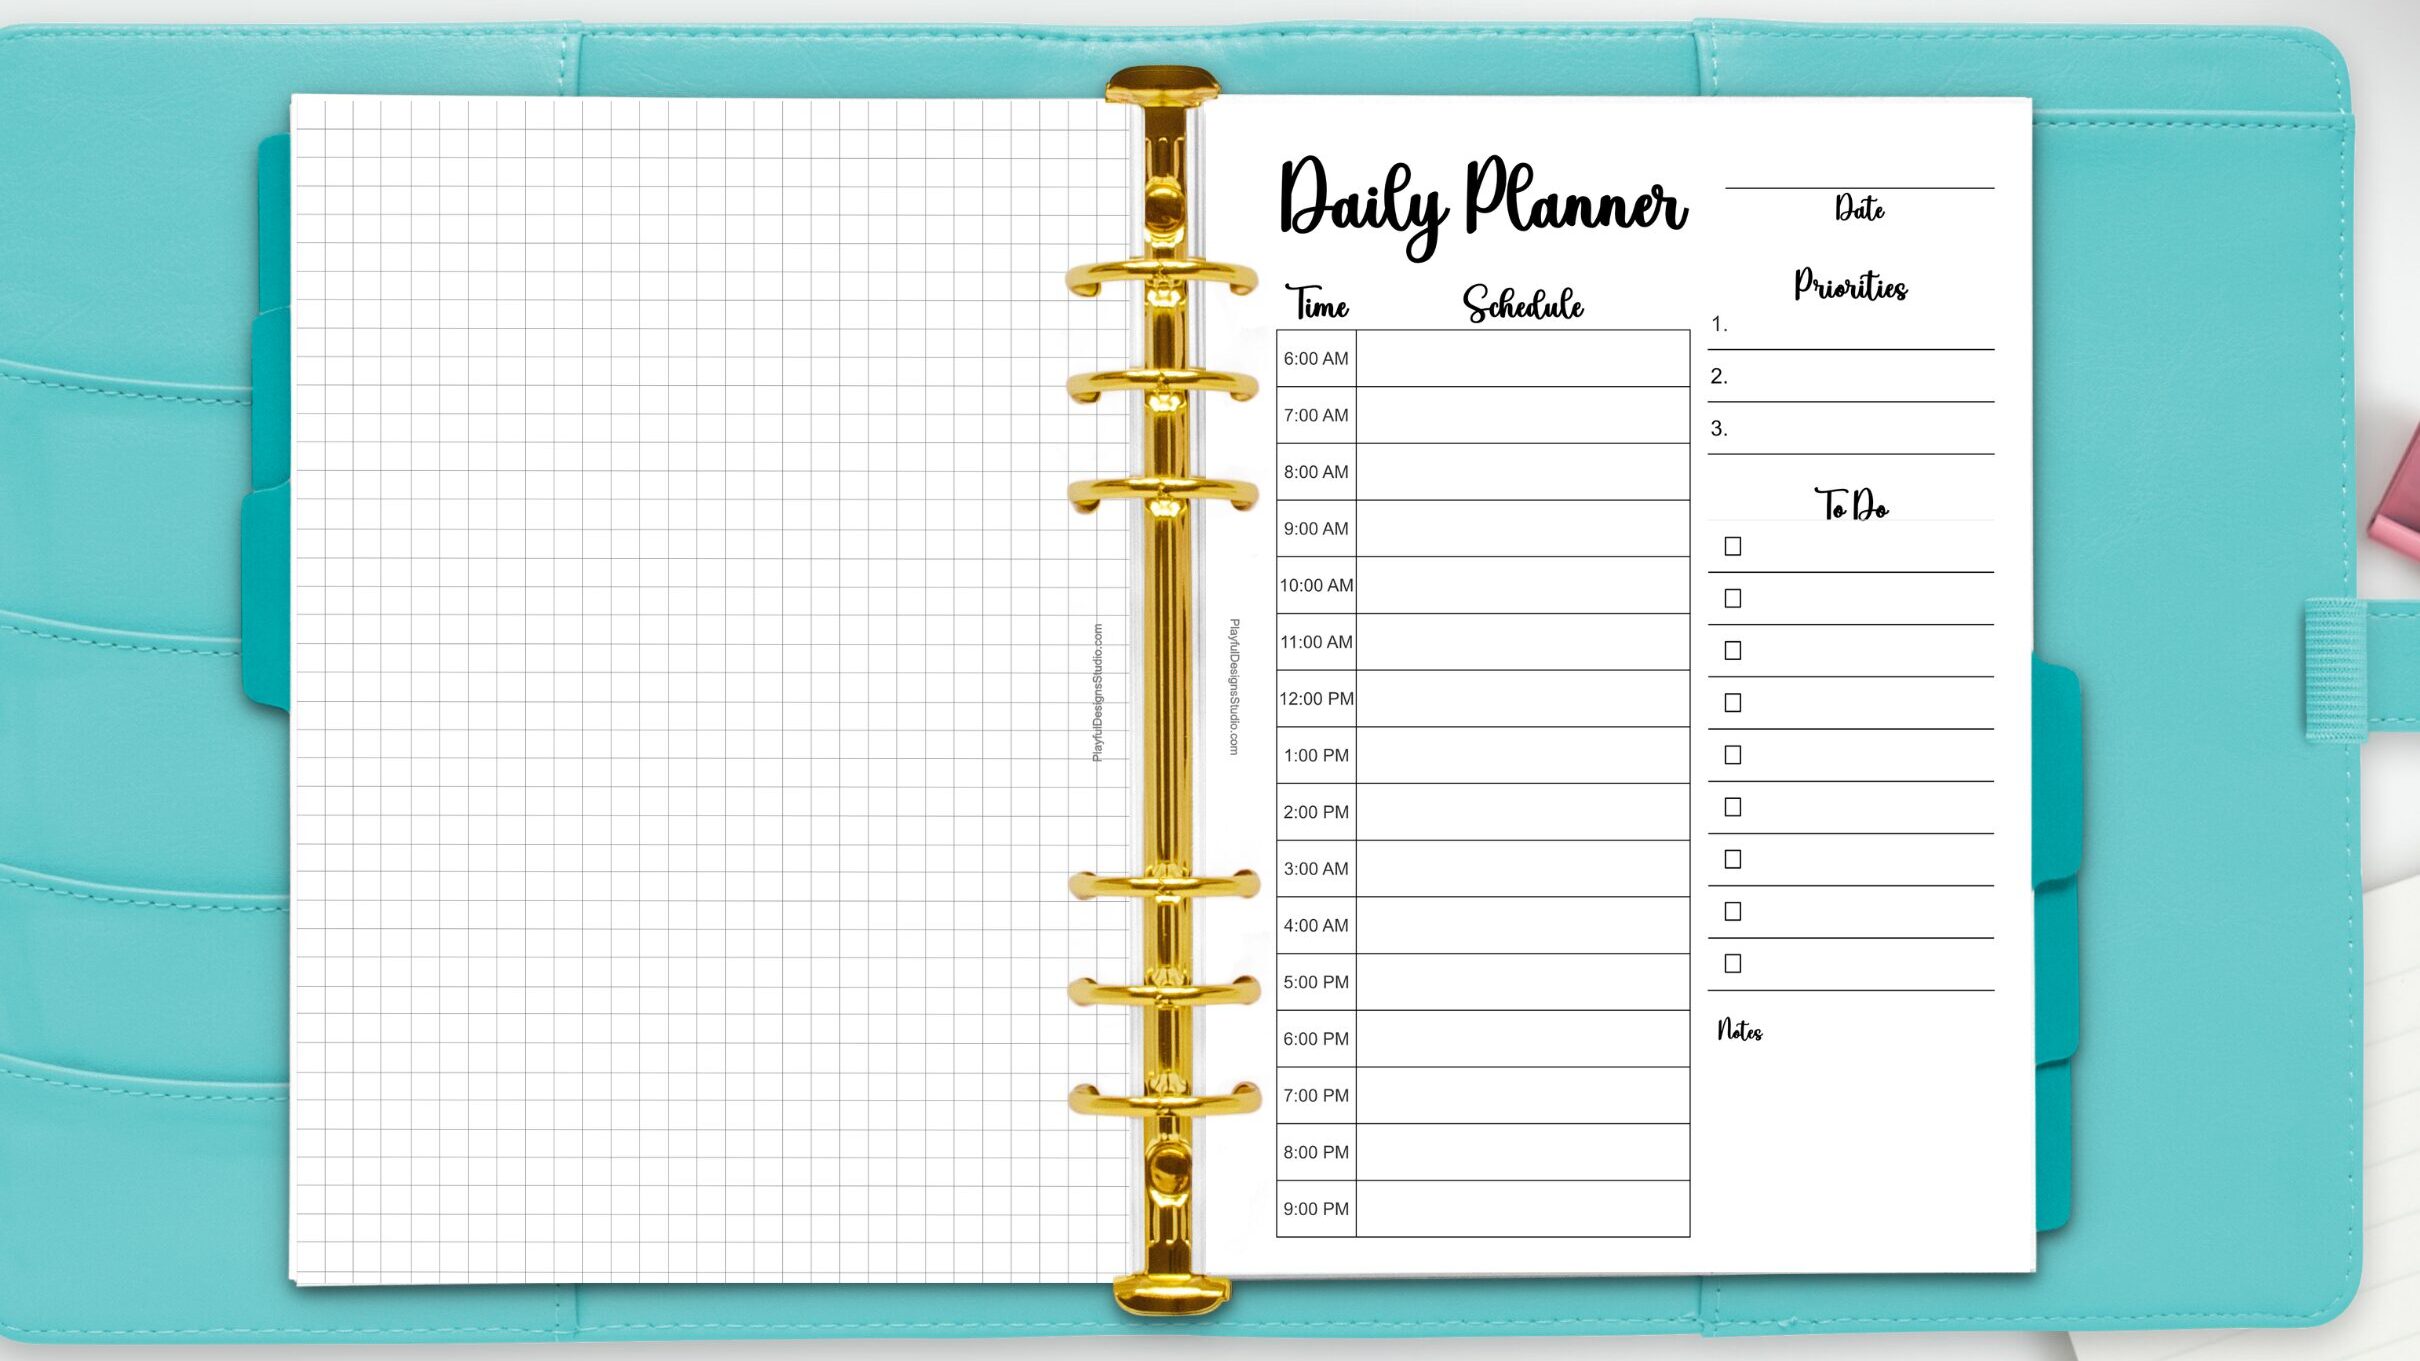
Before you hit print, take a quick moment to check your ink and paper levels. Most printables are designed for standard Letter size (8.5″ x 11″), though some may be A4 or Half-Letter. For the best results, always use the size specified in your file.
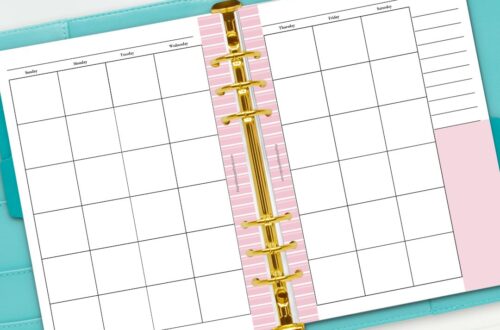
When it comes to paper, quality matters! I recommend using 24lb or 28lb paper to prevent your favorite pens from bleeding through. The 28lb option is a personal favorite—it feels more durable and premium, giving your DIY stationery a high-end finish.
Print Menu and Settings
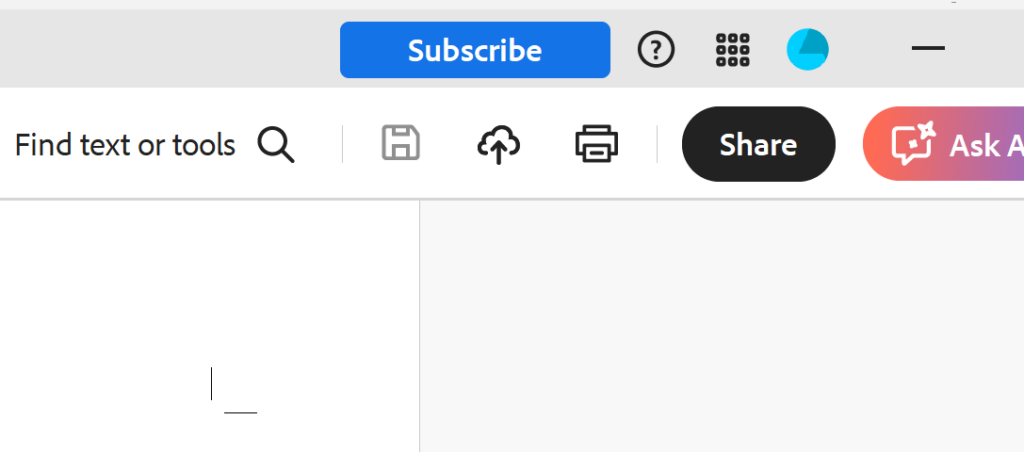
Ready to print? Open your file and head to File > Print in the top left corner, or click the printer icon in the toolbar. If you like shortcuts, press Ctrl+P (Cmd+P on a Mac) to open your settings instantly.
If you’re using Adobe Acrobat, you’ll find that handy printer icon tucked right in the top right-hand corner of the window. It’s quick, easy, and only takes a second to get started.
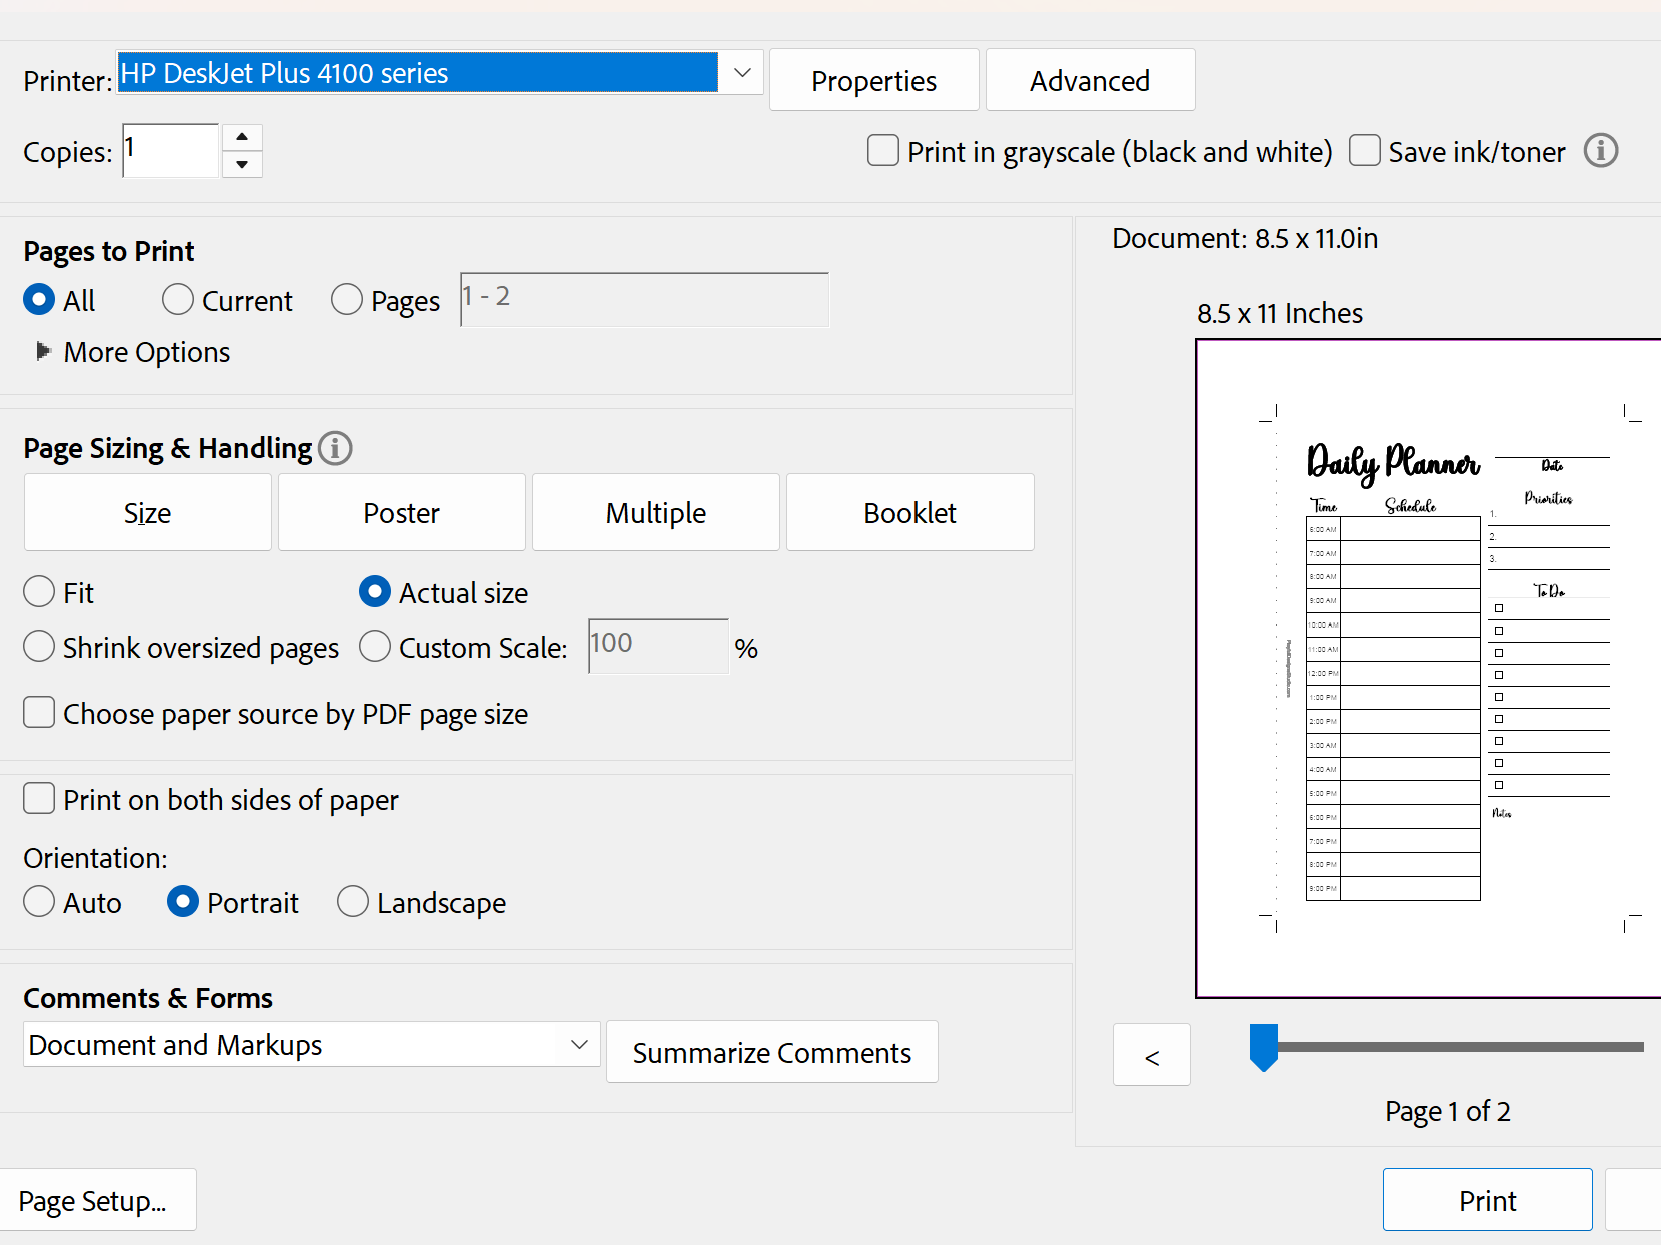
Adjusting your settings will make all the difference in how your printable will turn out.
- Printer: Make sure your preferred printer is selected.
- Print Copies: Pick how many copies you’d like to have on hand.
- Pages to Print: You can print the whole file, or just select “Current Page” if you only need one specific sheet.
- Orientation: Choose Portrait or Landscape depending on the print’s design.
- Scale or Sizing: To keep the design from looking stretched or cut off, always select “100%” or “Actual Size.
- Paper Size: Just a quick check to ensure the setting matches the paper you put in the tray.
- Black & White or Color: Use Color for those vibrant designs, or switch to Black and White if you’re looking to save a little ink on basic lists.
Printable Preview
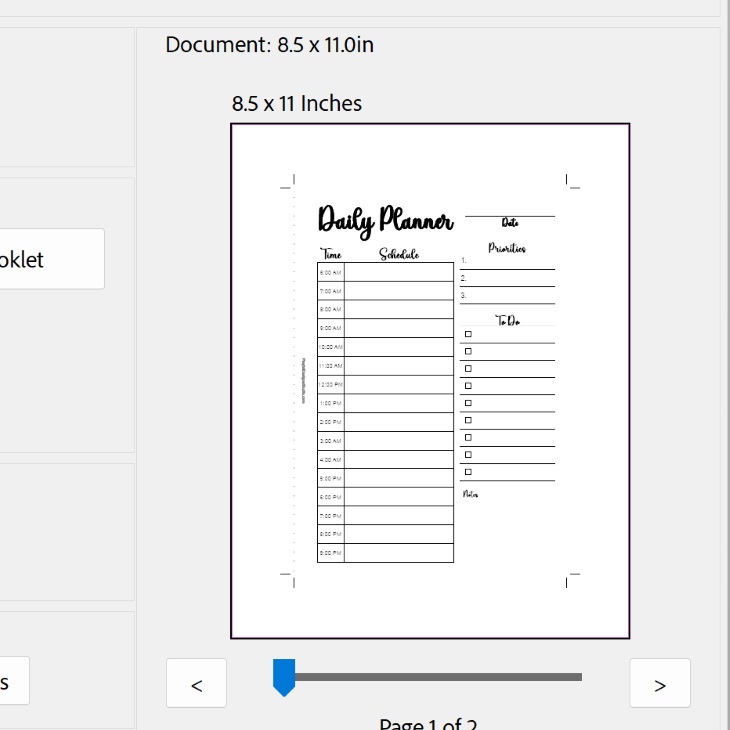
The print menu usually shows you a little preview of how your page will look once it’s on paper. Take a quick peek to make sure nothing is misaligned or accidentally cut off. If anything looks a bit off, you can easily go back and tweak your settings until it looks just right.
Printing
After you’ve given everything a final look, try printing a test page first. It’s a great way to save ink and make sure your colors and alignment are the way you need them to be.
Printing your printable doesn’t have to be stressful. By following these few steps, you’ll find the process becomes easier and more enjoyable. I hope this guide helps you get the most out of your printable and brings a little extra creativity to your day.
Want more designs to practice with? I’ve got Free Printables just for you.